iOS Free and Non-Free Builds
Anyone who has browsed around the iTunes store or Android marketplace is familiar that many of the applications have a free and non-free version. While it would certainly be possible to maintain two complete branches of code, anyone who has done software development for more than trivial projects knows that duplication is a Bad Thing (tm). XCode provides a mechanism to build multiple targets without creating multiple projects.
See Android Free and Non-Free Builds also.
Software Versions
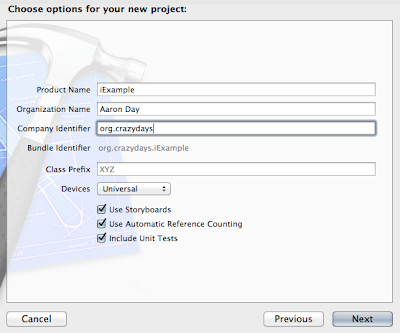
Create Project
The odds are you already have a project you are planning on turning a free and non-free version. It is probably safer to start with a new project to figure out any of the details before jumping in with an existing current project. Though if you want to just jump in with your current project skip this step.
Duplicate Target
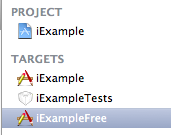
Select the target and use Command^D to duplicate the target. This will create a second target with the original name and append copy. The next couple steps change the name of that target to the free version.
Rename Target to Free
Double click the target name and change it from 'copy' to 'Free'.
Rename Product to Free
Select the Build Settings for the new free target. In the Packaging subcategory set the Product Name to free name.
Rename Target 'copy Info.plist'
When the copy of the new target was created it made a new Info.plist file for the target. Rename this to the name of your target.
Move Info.plist Into Project Directory
For whatever reason the duplication process drops the Info.plist file in the root directory of the workspace rather than the project. Maybe different versions of XCode will fix this issue. So click on the Info.plist file and Show in Finder.
Move the file into the project's directory, not the .xcodeproj directory.
Delete Old Info.plist Project Reference
Since the Info.plist file has been moved and XCode isn't smart enough to realize that it was moved we need to delete the old reference.
Add Info.plist to Project
Re-add the Info.plist to the project. In the Add to targets clear the original target and check the new project for add to targets.
Move to Supporting Files
Drag the Info.plist file to the Supporting Files next to the original target's Info.plist. This part isn't absolutely necessary, but we might as well make it look nice.
Select Info.plist for Target
The last step for hooking up the Info.plist is to set it for the target.
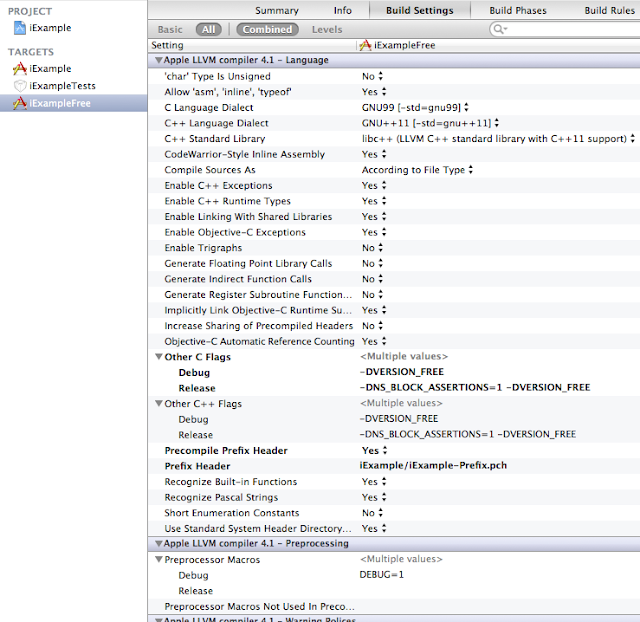
Add C_FLAGS
This step adds the dash of magic which allows use to distinguish between versions. The -DVERSION_FREE will allow use to use #ifdef within the code to enable and disable blocks of code depending on the version. It is possible to add additional defined versions to each of the build, for example if you were doing an application for each baseball team.
Update View Controller
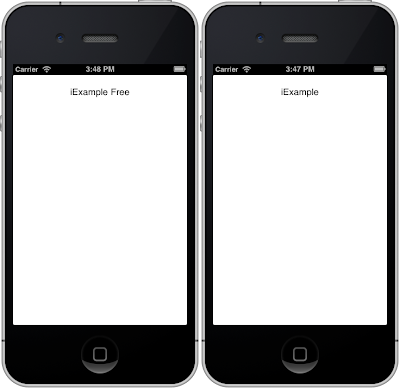
To show an example of using #ifdef create a UILabel in the view controller and set the text to a different value for each of the targets. The free version would display "iExample Free" and the non-free version would display "iExample".
Update Storyboard
Add a Label to the storyboard and hook it up to the view controller's UILabel outlet.
Run Both Applications
Each target will now show the string respective of the version.
Cleanup
The final step, which is kinda a work around for another bug in XCode. Close XCode and delete your user's .xcuserdata directories. XCode will otherwise continue to show the original target with copy appended as the launch options for the copied target.
Additional Options
Adding #ifdef's throughout the code can lead to maintainability and testing issues long term. A better mechanism is to add a single method on the AppDelegate or an Environment class which resolves the version. By doing this it is possible to write test code which would setup the environment for the proper version and the application will contain all of the required source code.
Resources


No comments:
Post a Comment